


Share via


Wix is one of the world’s best website design platforms. That’s right, the age of DIY has gone from Builders Warehouse wardrobes to websites. So, if you’re someone who loves creating your own thing, imagine how you’d feel after creating your very own website, knowing that getting your business online is especially important in these times.
If over 110 million people love what they were able to create using Wix, then it’s safe to say that it’s pretty popular. Now, are you busy wondering how you’re going to do it all and impress all the visitors to your new website? Well, you’re in luck because Wix is super doable and all we need to do is give you a few simple instructions to get you on your way.
How to Use Wix Editor
How about we do what we do best and make things even simpler, by breaking down the Wix Editor process for you in 12 easy and helpful steps.
- Sign up
- Choose a template
- Update text and images
- Personalise your background
- Add pages/site navigation
- Add apps
- Set up a blog
- Optimise for search engines
- Mobile friendliness
- Choose a domain name and publish
Step 1. Sign up

Wix offers 8 pricing plans that you can choose from and then pay for through the Wix payment plugin which has made your ecommerce payments on Wix super easy. It’s the same with all subscriptions, the more you pay, the more features you get. But, you can also choose a free plan, the only thing is, you’ll have to sacrifice a professional domain name and allow for on-site ads to irritate you.
That’s why we recommend the Premium plans – they’re cheap enough and open up more business opportunities.
The Wix Premium plans are:
- Combo plan: R272.85/month
- Unlimited plan: R348.64/month
- Pro plan: R424.43/month
- VIP plan: R712.44/month
- Business Basic plan: R424.43/month
- Business Unlimited plan: R500.22/month
- Business VIP plan: R848.86/month
- Enterprise plan: Custom pricing (for large businesses)
Step 2. Choose a template
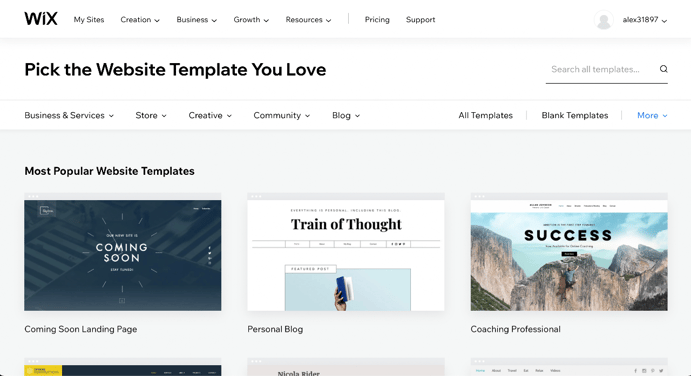
In order to get started, you’ll want to click on “Create a New Site” from the drop-down menu. After clicking, Wix will ask you what kind of website you want. So, you can choose from business, designer, blog, online store, restaurants and food, beauty and wellness photography, accommodation, portfolio and CV, music, events and others.
As you can see you’re spoilt for choice with Wix and you haven’t even picked a template yet. You’ll then be taken to a relevant page of templates to choose from based on your selection. And get this, there are 500 templates in total, so if your dream template isn’t there, you probably don’t dream.
Step 3. Update text and images
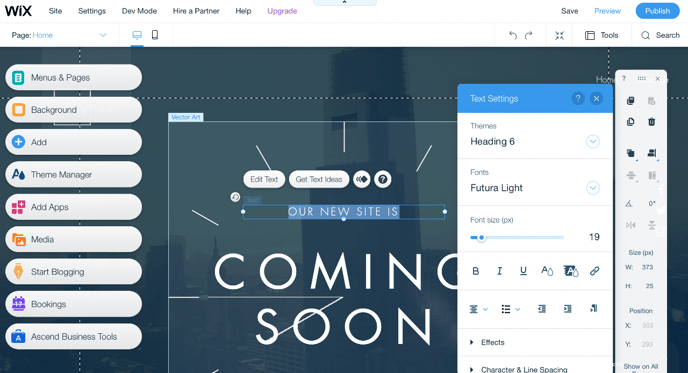
Now you’ll want to update your blog details, company, or portfolio. Click on the text you would like to change and simply rewrite it. It really is that simple. Feel free to change the font, size, colour and switch from bold to italics if you want.
If your template comes with an image and you want to change it, all you’ll have to do is click on the image and delete or replace it with something you prefer.
Step 4. Personalise your background
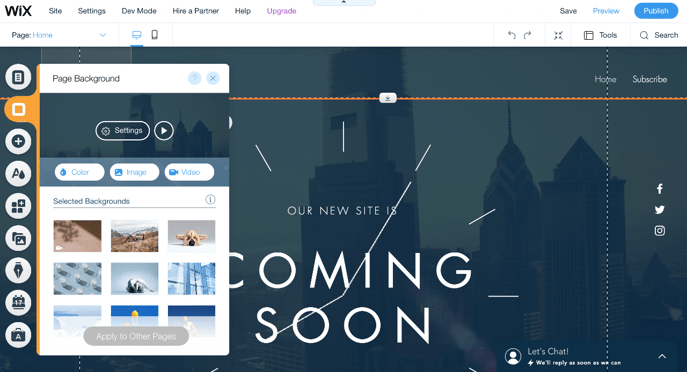
If small images in your background aren’t what you want, you can change the entire template background to something of your choice by simply clicking “Background”. According to the best (UX) User experience trends of 2019, the most popular background for your template is actually a video.
Step 5. Add your pages
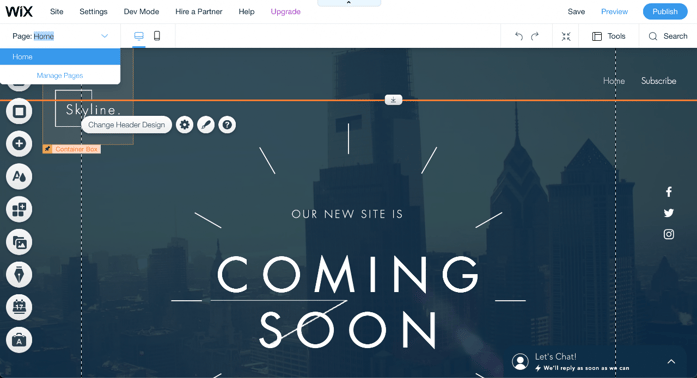
To make sure that your visitors get the full experience of your website, you should create some more pages after you’ve created the homepage. For example, always make sure to include an About Us page and a Contact Us page. Click the down arrow next to the page you’re on at the top of the editor, then click “Manage Pages” in order to add a page.
Step 6. Add apps
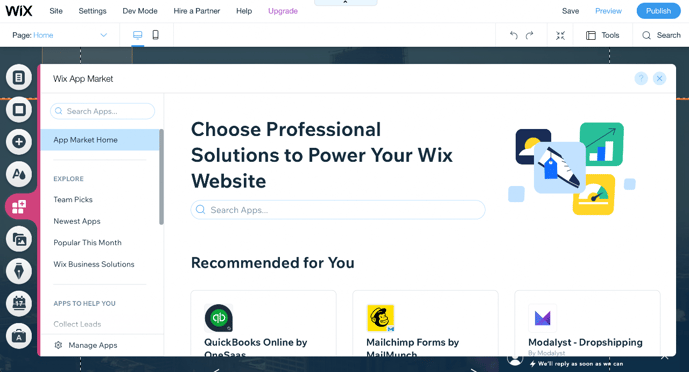
You don’t have to worry if your site still feels a little plain because adding a few bells and whistles here and there really aren’t difficult at all. So, all you have to do is take a very enjoyable virtual tour through the Wix App Marketplace and pick out your favourite apps among 250 of them.
Step 7. Set up a blog
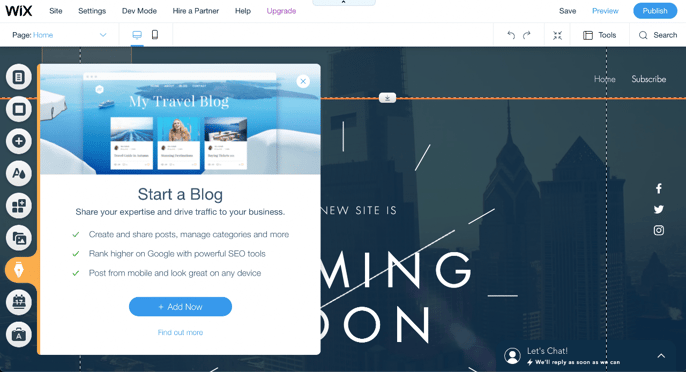
Keep a hold of your audience’s eyes and ears with a cool and informative blog. All you need to do is click the pen-shaped “Start Blogging” button in order to get started. You can also add some cool new features to your blog by clicking the same pen-shaped button to add in some events, Instagram feeds, or an RSS button.
Step 8. Optimise for search engines
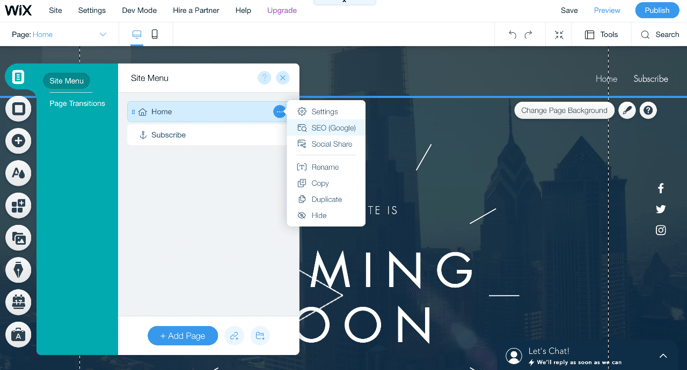
Look to the left of the site editor and click “menus and pages”, then click on the “… “ to be presented with an option of clicking on “SEO Google” which will give you control over basic SEO functions.
Step 9. Mobile-friendliness
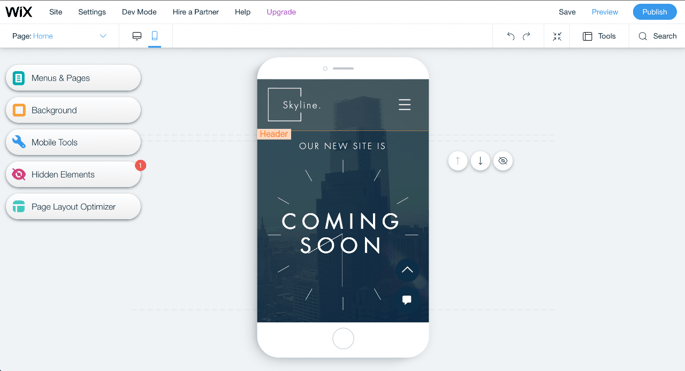
You have to make sure that your site looks great or even better on a mobile device given the fact that 40% of people search mainly on a smartphone. To start, click on the mobile icon at the top of the editor to have a look at what your website will look like on a mobile device. Luckily Wix Editor has already made a mobile-friendly website format for you. If you still want to change it then you can without affecting the desktop version of your site.
Step. 10 Choose your domain name & hit publish
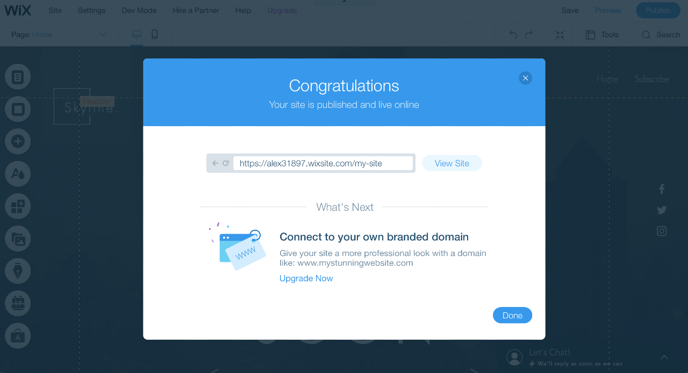
Wait! Before publishing your website, you’ll need a domain name. You unfortunately won’t be able to do this with Wix’s free plan, but you’ll have to do it with the other payment plans.
By now you should be done editing your website with the world waiting to view. Remember that nothing is set in stone and that you can still edit your website after publishing it.
Once you’ve finished editing your website, click “Publish” next to “Preview” and your site will go live. It’s really as easy as that with Wix Website Editor. Now all that’s left to do is set up your payment gateway so you can start accepting online card payments.
Scale with Peach
Learn how we help scale some of Africa's most exciting businesses
Business tips, case studies, interviews with online store owners and business trends…

From Check-in to Check-out

How Multiple Payment Options Improve Online Travel Sales

The New Standard for Payouts in South Africa

Peach Payments and Yoyo add bank card-linked loyalty to Digit Pro POS device
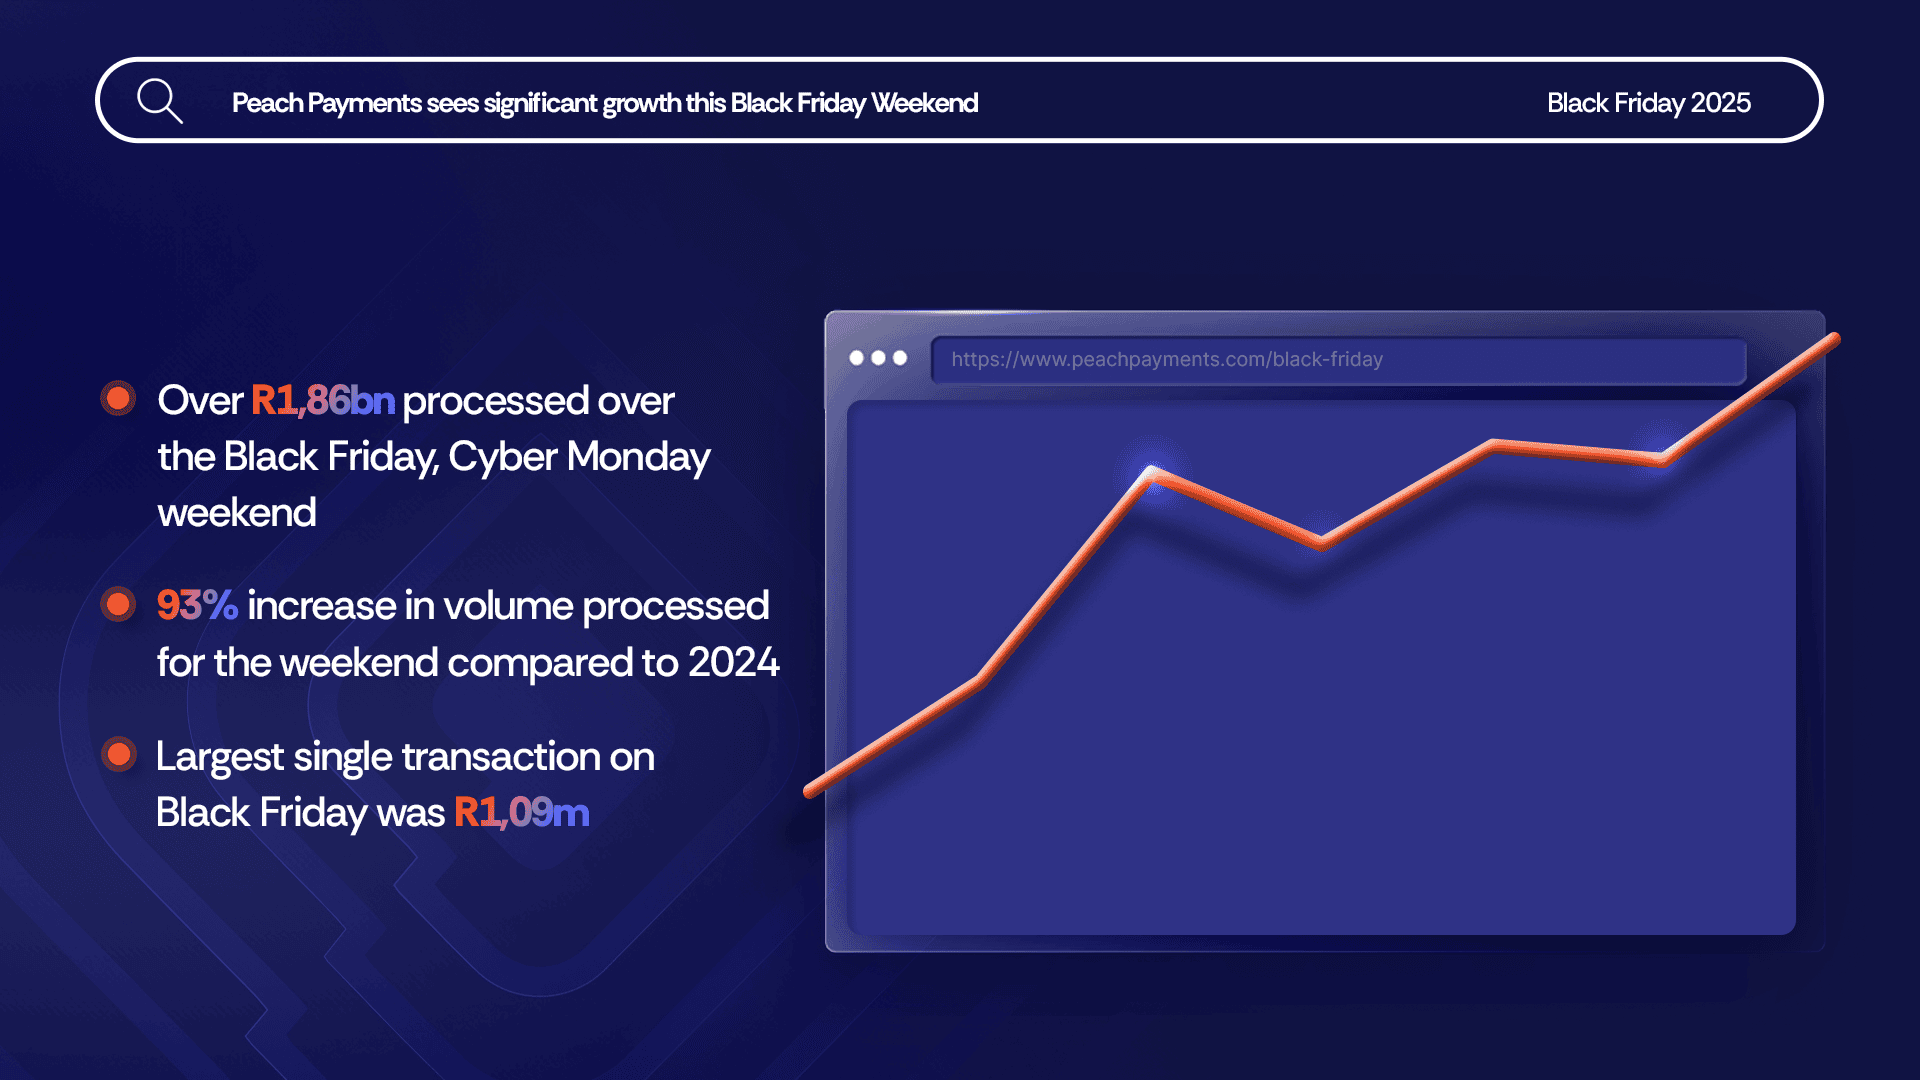
Black Friday up 93% over 2024, R1,86bn processed

Bringing Our New Peach Values to Life

Samsonite in-store payment methods
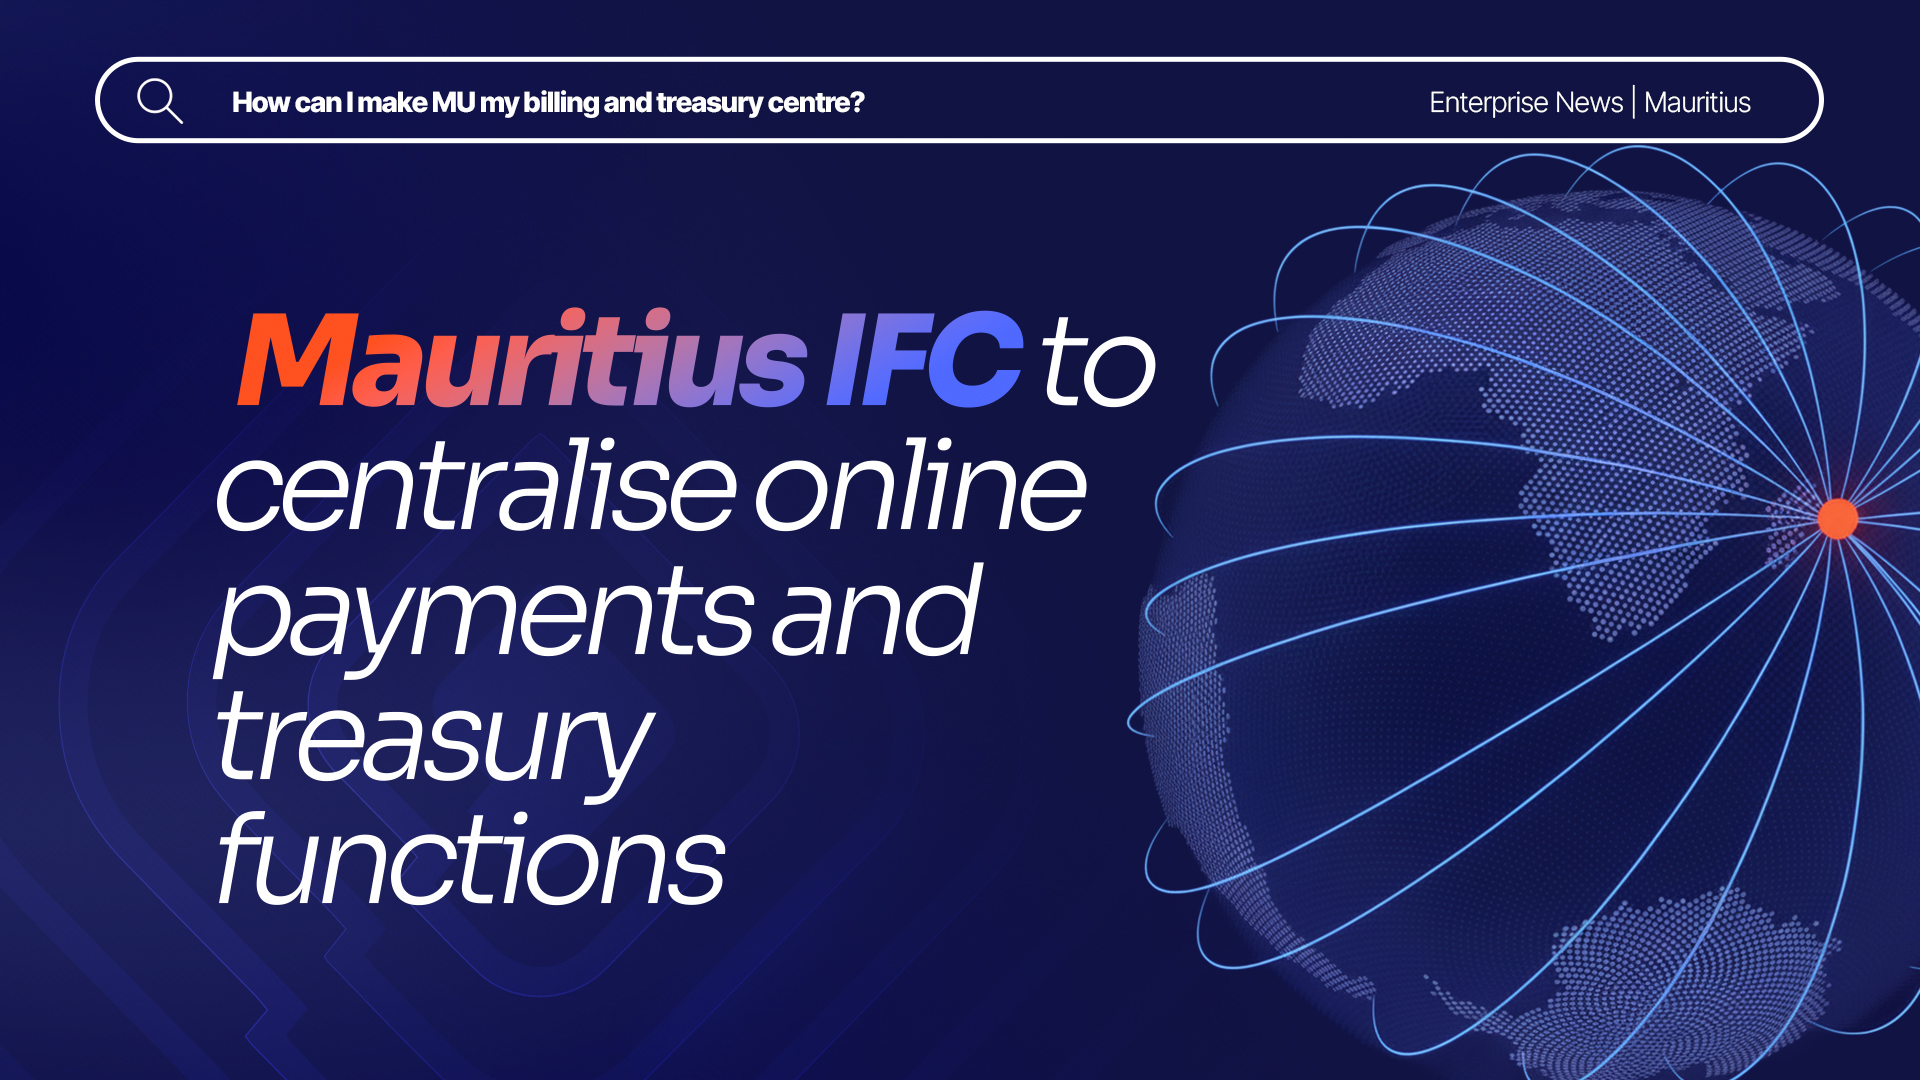
How global and regional companies can use the Mauritius IFC to centralise online payments and treasury functions

# PeachFriday Merchant Deals 2025
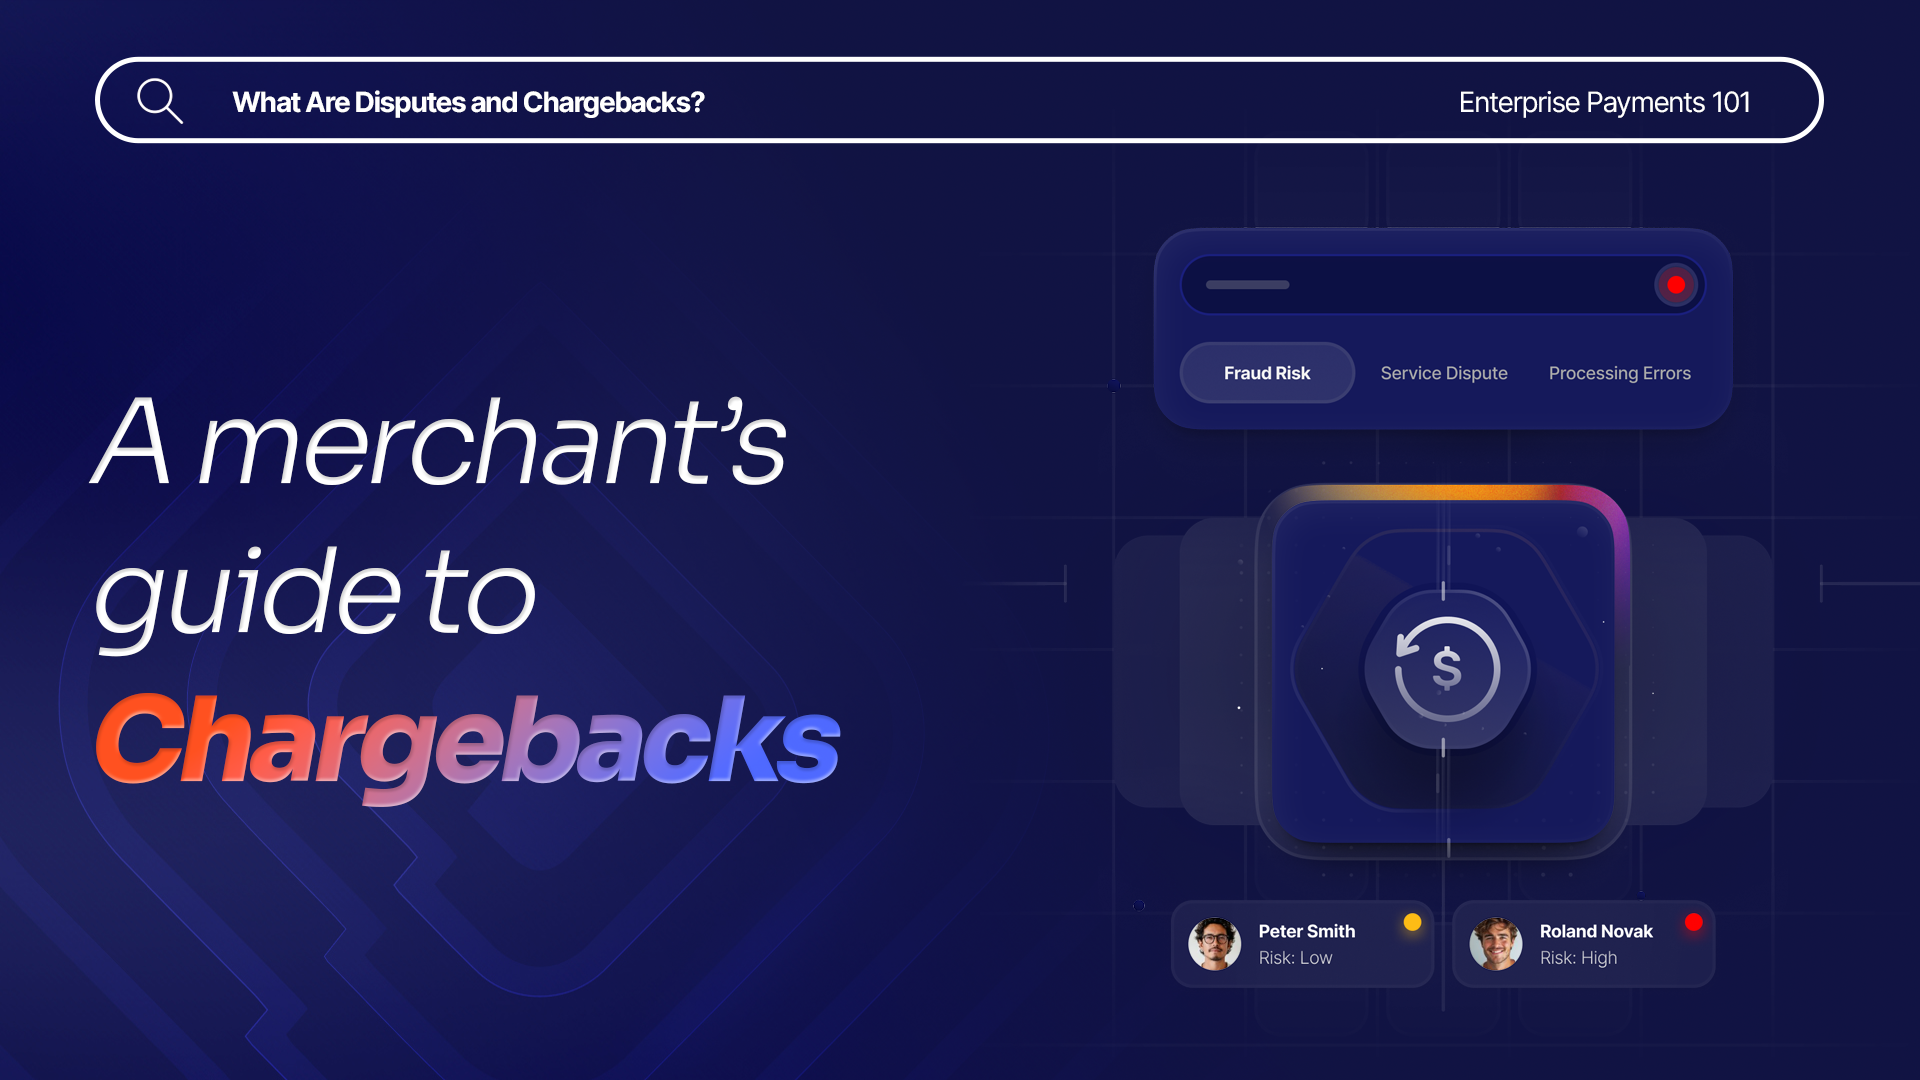
A merchant’s guide to chargebacks
Four Black Friday payment realities for merchants
What are Direct Merchant Accounts (ISO) versus Aggregation Accounts?

What Is 3RI? Everthing you need to know about Requestor-Initiated Authentication

Highlights from the 2025 World Wide Worx Online Retail Report
What is Interchange? Everything you need to know about interchange fees

Cadana Pay x Peach Payments: Unlocking seamless global Payouts
Peach Payments announces real-time clearance Payouts
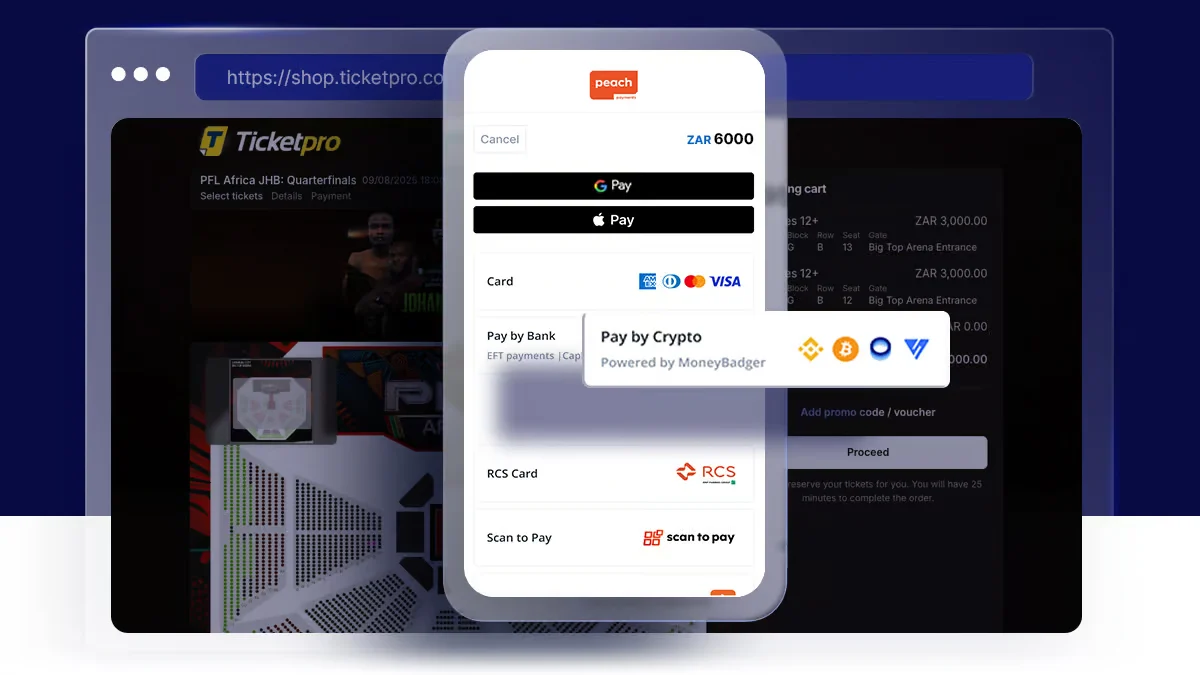
Peach Payments x MoneyBadger partnership goes live
Peach Payments launches enterprise-level POS terminal

iTickets x Peach Payments Point of Sale
Peach Payments x Digicape: Powering Premium Apple Experiences with Seamless Payments

Peach Payments acquires West-African payments gateway PayDunya


Navigating International Transactions

Seize the Sale with Buy Now, Pay Later

2024 Wrapped: A Year of Innovation and Growth at Peach Payments

RCS payment option now available through Peach Payments

Peach Payments sees impressive growth this Black Friday Weekend
#PeachFriday Merchant Deals 2024

Your Ultimate Guide to Payment Security for Black Friday

Scaling with Peach Payments: Unveiling the Product Roadmap
